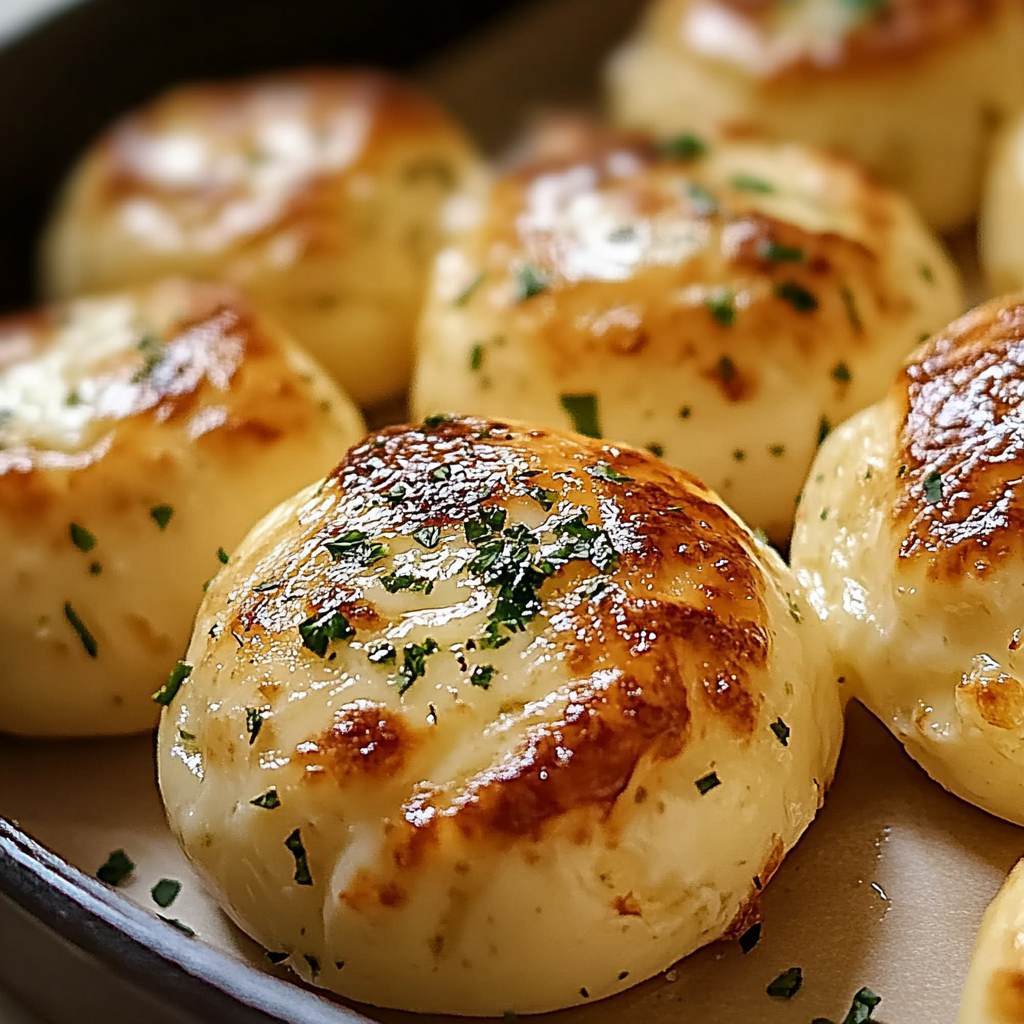
The moment you pull a tray of Cheesy Garlic Butter Bombs from the oven, your kitchen transforms into a magical wonderland of melted cheese and buttery goodness. Imagine that golden-brown crust giving way to a gooey interior filled with rich flavors that dance on your taste buds like they just won the lottery. The aroma alone is enough to make anyone forget their dinner plans and dive straight into your plate.
I first discovered this delightful recipe at a friend’s game night where everyone was too busy fighting over these little parcels of joy to even notice the actual game happening in the background. Now, every time I make them, I’m transported back to that night filled with laughter and cheesy goodness. These bombs are not just a recipe; they’re an experience waiting to happen!
Why You'll Love This Recipe
- These cheesy garlic butter bombs offer a simple preparation method that anyone can master
- Their irresistible flavor profile combines savory garlic and melty cheese that’s hard to resist
- Visually stunning with their golden crust, they’re sure to impress any crowd
- Perfect as appetizers or snacks for game nights or cozy family dinners
I remember one crazy afternoon when my family dove into these cheesy delights like they were going out of style—cheese everywhere!
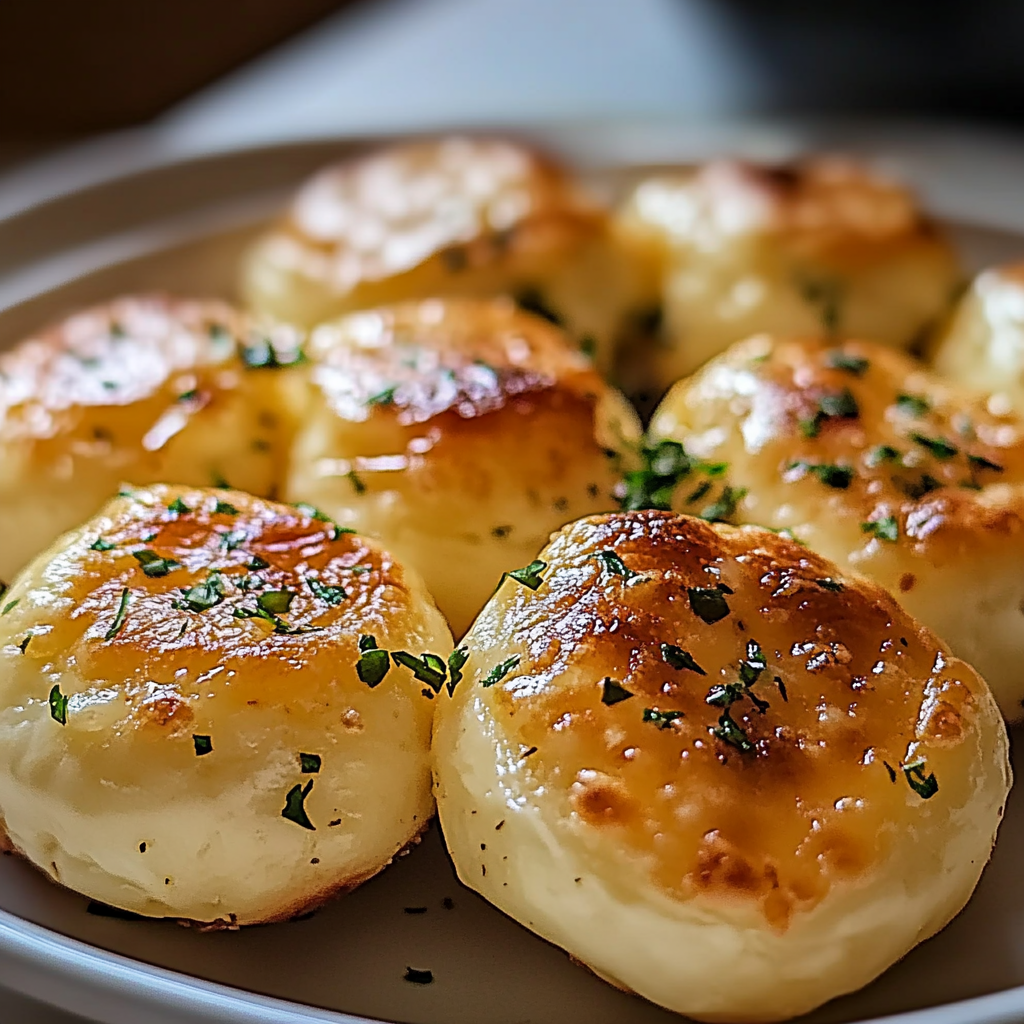
Essential Ingredients
Here’s what you’ll need to make this delicious dish:
- Biscuits: Go for refrigerated biscuit dough for quick prep—no one has time for from-scratch dough here!
- Shredded Mozzarella Cheese: Opt for mozzarella because it melts beautifully and provides that gooey texture we all love.
- Garlic Powder: Essential for that aromatic kick—fresh garlic works too if you’re feeling adventurous!
- Butter: Use unsalted butter so you can control the saltiness while adding richness.
- Fresh Parsley: Adds a pop of color and freshness—plus, it makes you feel fancy!
- Italian Seasoning: This blend enhances flavor without overwhelming the garlic and cheese.
The full ingredients list, including measurements, is provided in the recipe card directly below.
Let’s Make it together
Preheat Your Oven: Start by preheating your oven to 375°F (190°C). This ensures those Cheesy Garlic Butter Bombs get perfectly golden on the outside.
Prep Your Baking Sheet: Line a baking sheet with parchment paper to prevent sticking and help with easy cleanup later on. We all appreciate minimal kitchen chaos!
Mix Your Buttery Goodness: In a small bowl, melt about half a cup of butter. Stir in minced garlic (if using fresh) or sprinkle in some garlic powder along with Italian seasoning. The smell will make you want to dance!
Prepare the Biscuit Dough: Open your biscuit dough and separate it into individual pieces. Flatten each piece slightly in your palm before adding a generous amount of mozzarella cheese right in the center.
Create Your Bombs: Gather the edges of the biscuit around the cheese filling and pinch them closed securely. Roll them gently into balls—it’s okay if they look slightly lumpy; we’re going for rustic charm!
Bake Away!: Place those beauties on your prepared baking sheet and brush each bomb with your melted garlicky butter mixture. Bake them in your preheated oven for about 15-20 minutes until they turn golden brown.
Now you have Cheesy Garlic Butter Bombs ready to be devoured!
These little delights are bound to be a hit at any gathering or simply as an indulgent snack while binge-watching your favorite series. Enjoy every gooey bite!
You Must Know
- Cheesy Garlic Butter Bombs are deliciously addictive and perfect for parties or movie nights
- The combination of gooey cheese, buttery goodness, and garlic aroma will have everyone coming back for more
- You can easily customize the fillings based on your taste preferences
Perfecting the Cooking Process
To achieve a golden crust, preheat your oven, bake the bombs until puffed, and enjoy that glorious aroma filling your kitchen.
Add Your Touch
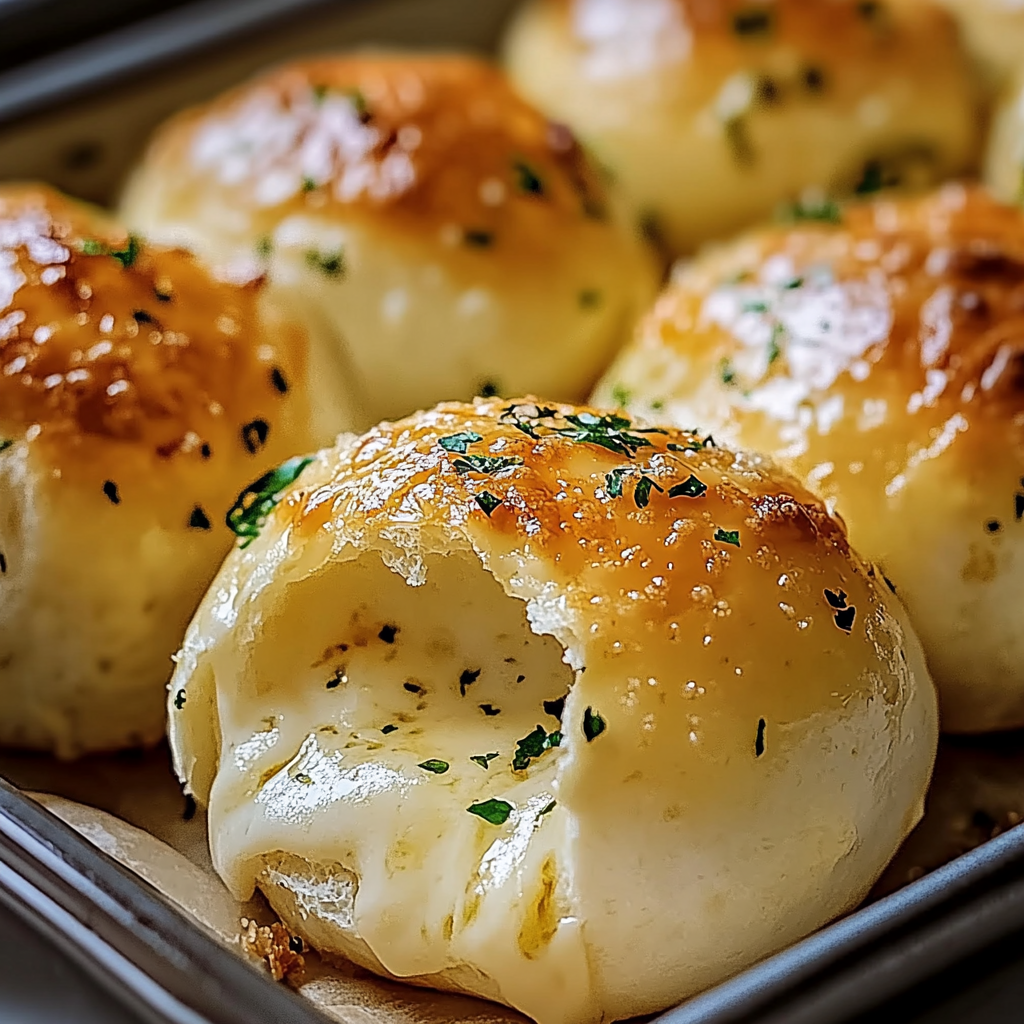
Feel free to swap out cheeses or add herbs like oregano or parsley to enhance flavors and make it uniquely yours.
Storing & Reheating
Store leftovers in an airtight container in the fridge. Reheat in the oven at 350°F for crispy perfection.
Chef's Helpful Tips
- For the best results, use fresh garlic for a vibrant flavor
- Make sure the dough is rolled tightly to avoid leaks during baking
- Serve warm for maximum gooeyness that everyone will love
Sharing these cheesy garlic butter bombs with friends at game night was unforgettable; their smiles were worth all the effort put into making them!
FAQ
What can I use instead of garlic?
Try using garlic powder or roasted garlic for a milder flavor.
Can I freeze Cheesy Garlic Butter Bombs?
Yes, you can freeze them before baking; just thaw before cooking.
How do I know when they are done baking?
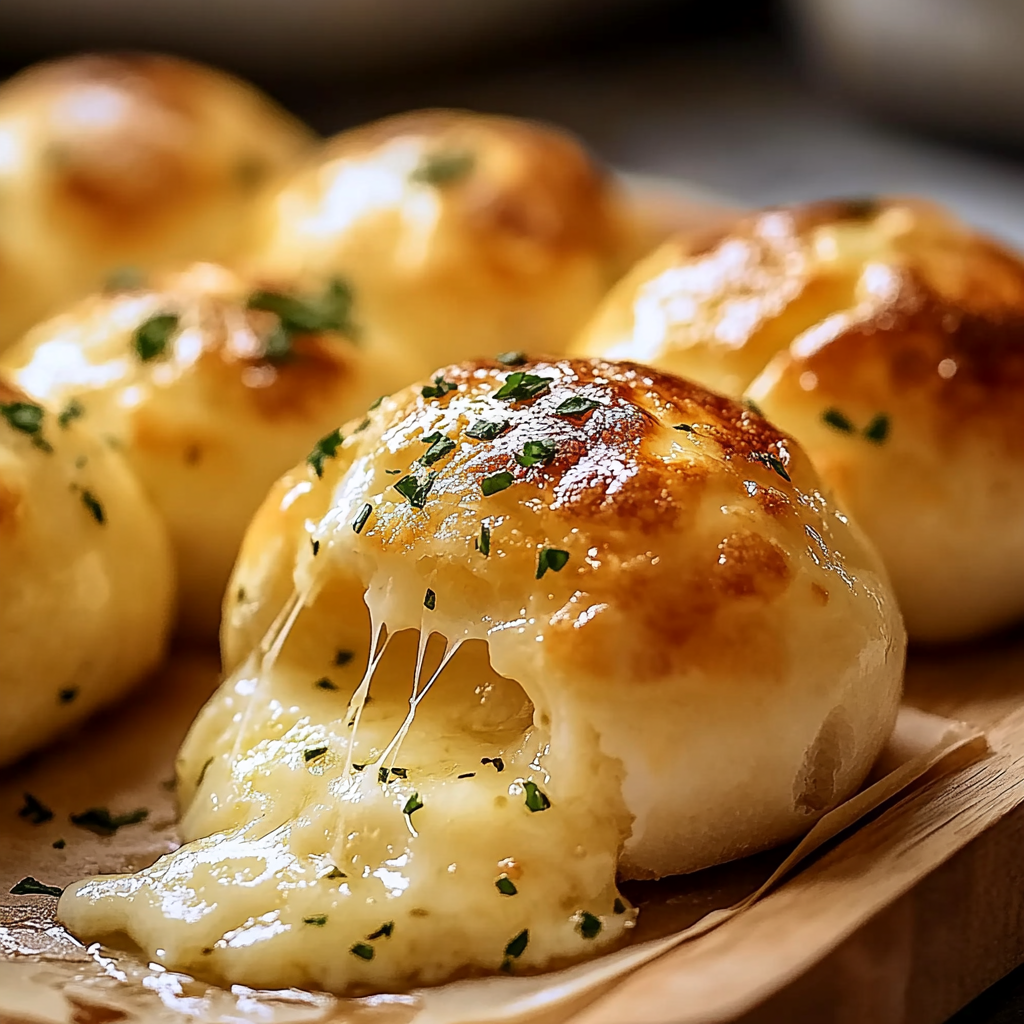
They should be golden brown and puffed up, releasing a lovely garlic aroma.
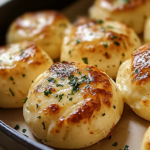
Cheesy Garlic Butter Bombs
- Total Time: 30 minutes
- Yield: Serves 12 bombs
Description
Cheesy Garlic Butter Bombs are irresistibly gooey bites wrapped in buttery biscuit dough, filled with melty cheese and aromatic garlic. Perfect for gatherings or cozy nights in.
Ingredients
- Refrigerated biscuit dough
- Shredded mozzarella cheese
- Garlic powder (or fresh garlic)
- Unsalted butter
- Fresh parsley
- Italian seasoning
Instructions
- Preheat your oven to 375°F (190°C) and line a baking sheet with parchment paper.
- Melt half a cup of butter in a bowl, then mix in garlic powder and Italian seasoning.
- Open the biscuit dough, flatten each piece slightly, and place a generous amount of mozzarella cheese in the center.
- Pinch the edges closed to form balls and roll them gently for a rustic look.
- Place on the baking sheet, brush with the melted butter mixture, and bake for 15-20 minutes until golden brown.
- Prep Time: 10 minutes
- Cook Time: 20 minutes
- Category: Appetizer
- Method: Baking
- Cuisine: American
Nutrition
- Serving Size: 1 serving
- Calories: 100
- Sugar: 0g
- Sodium: 270mg
- Fat: 6g
- Saturated Fat: 3g
- Unsaturated Fat: 2g
- Trans Fat: 0g
- Carbohydrates: 9g
- Fiber: 0g
- Protein: 3g
- Cholesterol: 10mg

